To help facilitate faculty hybrid work, Haas has made available a few shared office spaces for short-term or temporary use. Use and reservation of these shared spaces are subject to the Faculty Building Shared Office Space Reservation Policy.
Currently, these spaces are found in the Faculty Bldg., rooms F521 and F621, and inside the Institute for Business Innovation – F402 (2 cubicles), and may be reserved on a first-come, first-served basis through your faculty assistant, or with direct access through your bCalendar.
When booking directly through your bCalendar, please first request for calendar access through your faculty assistants (this is a one-time request). After gaining access to these calendars, you should be able to view, choose and reserve these shared spaces when available. For more details, please follow the instructions below.
REQUESTING DIRECT CALENDAR ACCESS |
To get direct access to book shared office spaces through your bCalendar, ask your faculty assistant to request access to the calendars and the room(s) you need.
The current spaces/calendars available are:
-
- Faculty Bldg. F521 (2 stations in the room)
- Faculty Bldg. F621 (2 stations in the room)
- Faculty Bldg., IBI – F402 (2 cubicles in the office)
Wait for a confirmation from the room administrator or your faculty assistant.
ADDING THE SHARED OFFICE SPACE CALENDAR/BOOKING A SPACE |
BEFORE YOU BEGIN: make sure that you’ve received calendar access confirmation before proceeding with the instructions below.
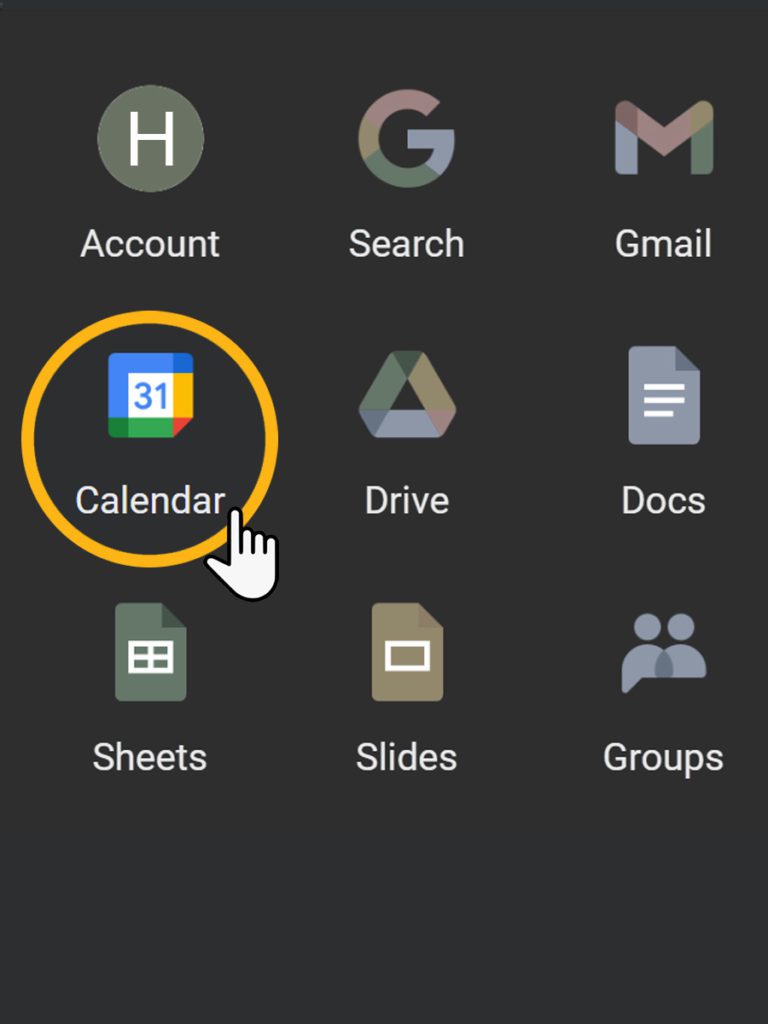
1. bCalendar
Go to your bCal.
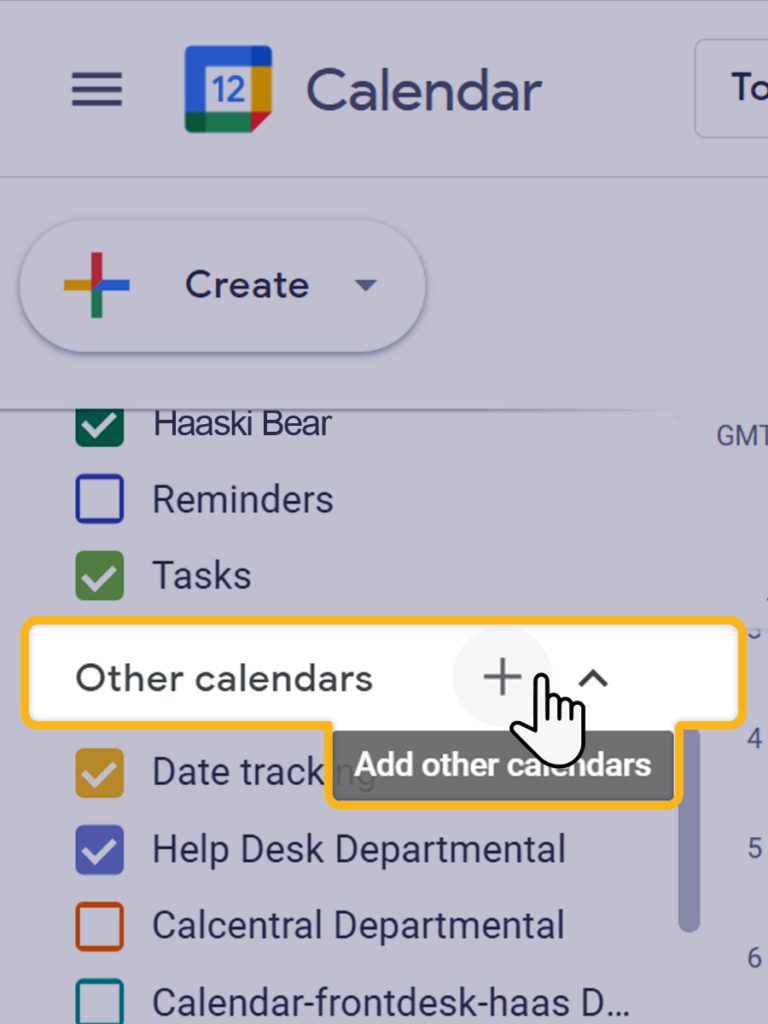
2. Other Calendars
On the left column navigation, scroll down to Other calendars and click on the add ( + ) button.
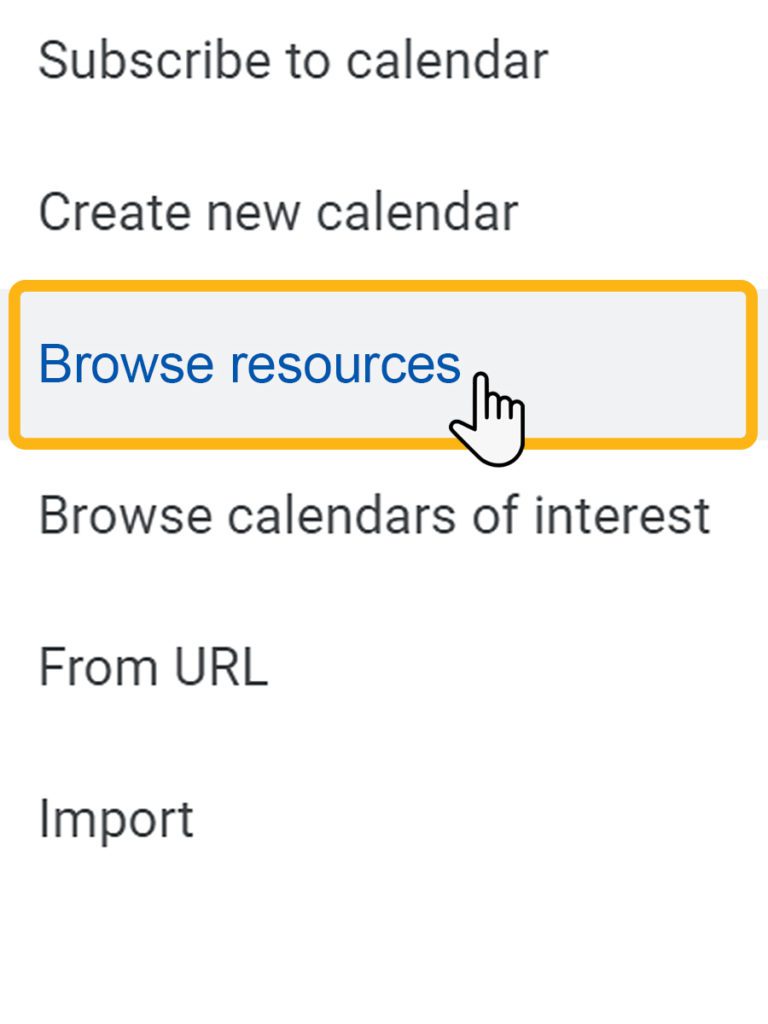
3. Browse Resources
In the Other calendar menu, click on Browse resources.
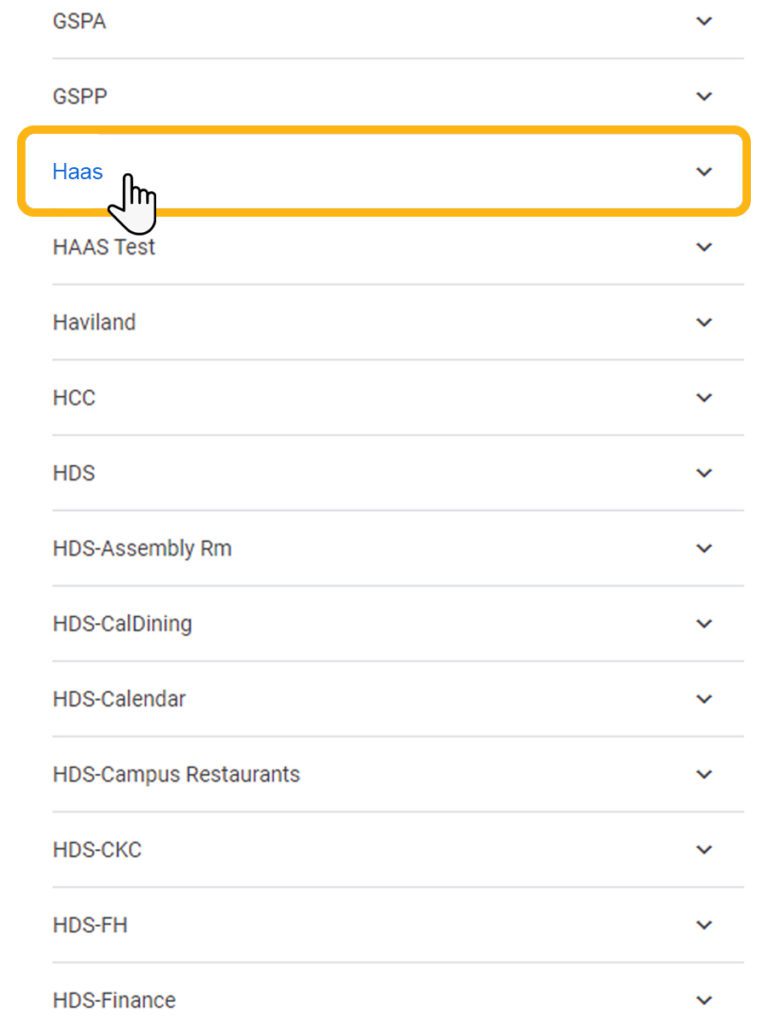
4. Scroll to Haas
A list of Campus resources will appear. Scroll down to, and click and expand Haas.
5. Select the Calendar(s)
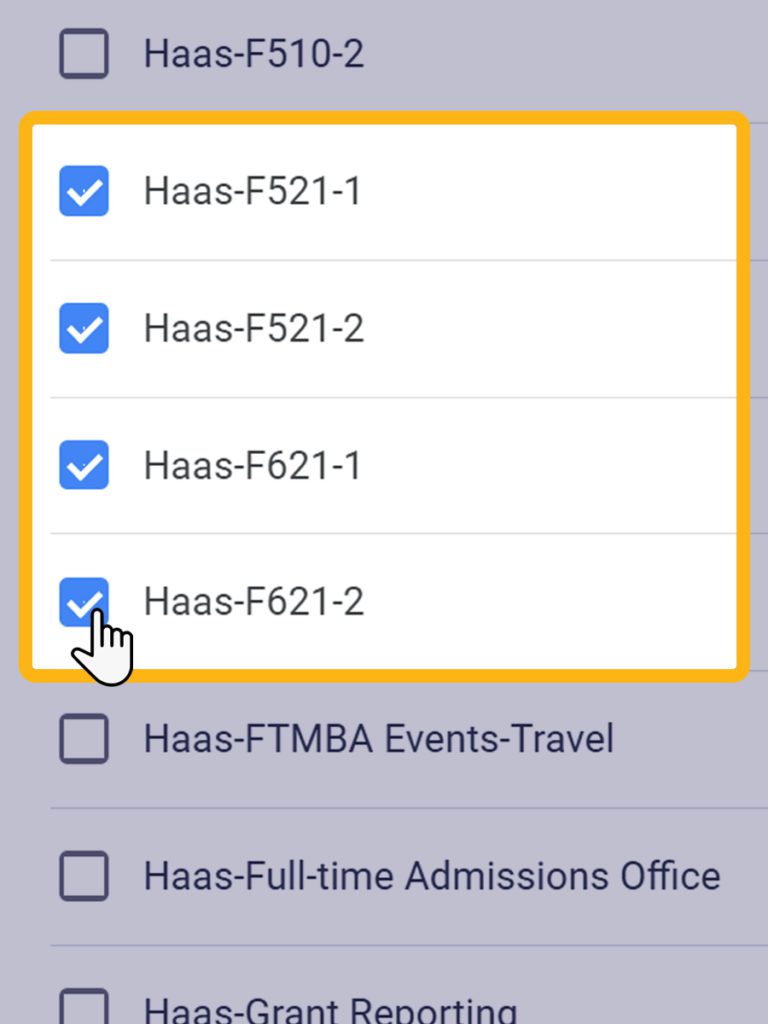
Under the Haas menu, scroll, find and check the boxes on the calendar(s)/space(s) you were given access to.
6. Go Back to Your Calendar
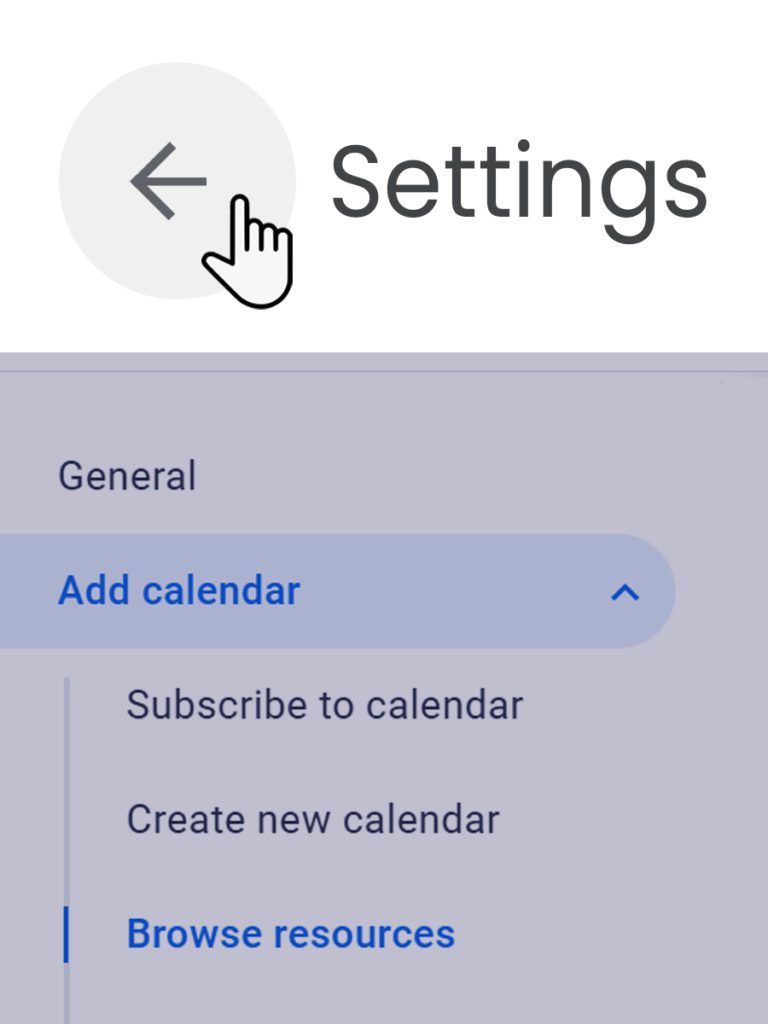
Now go back to your calendar by going to the top left corner of the browser and clicking on the back arrow (beside “Settings”).
7. Calendars Added
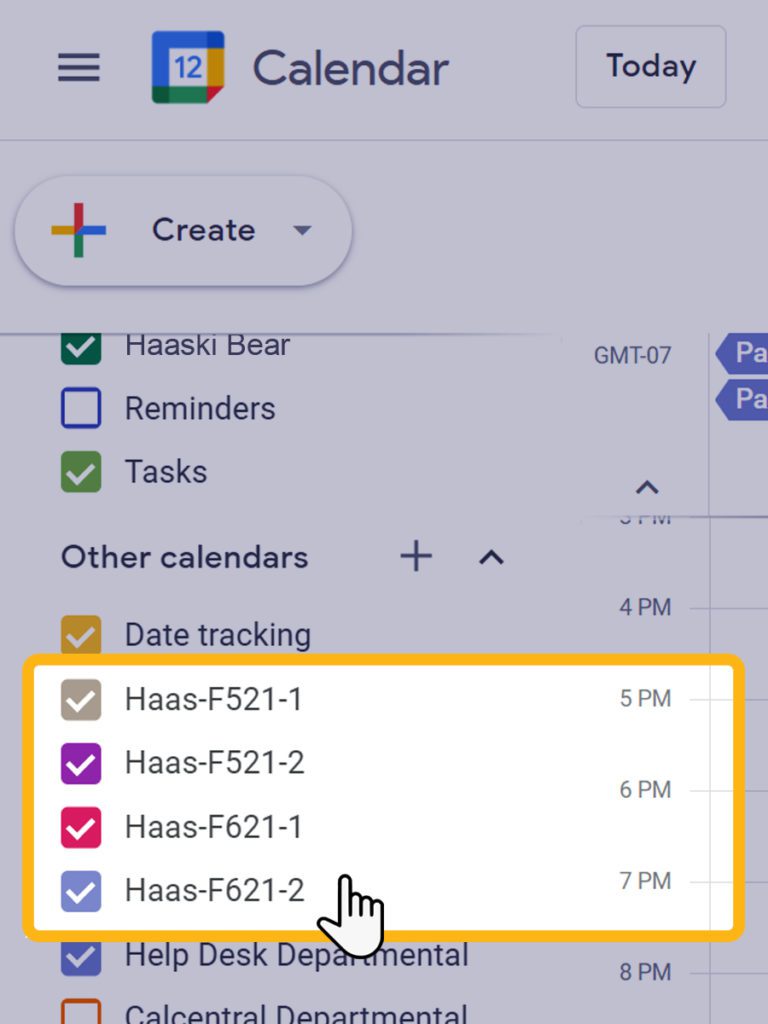
The calendar(s) of the space(s) you have access to should now be visible in your Other calendars.
8a. Create an Event
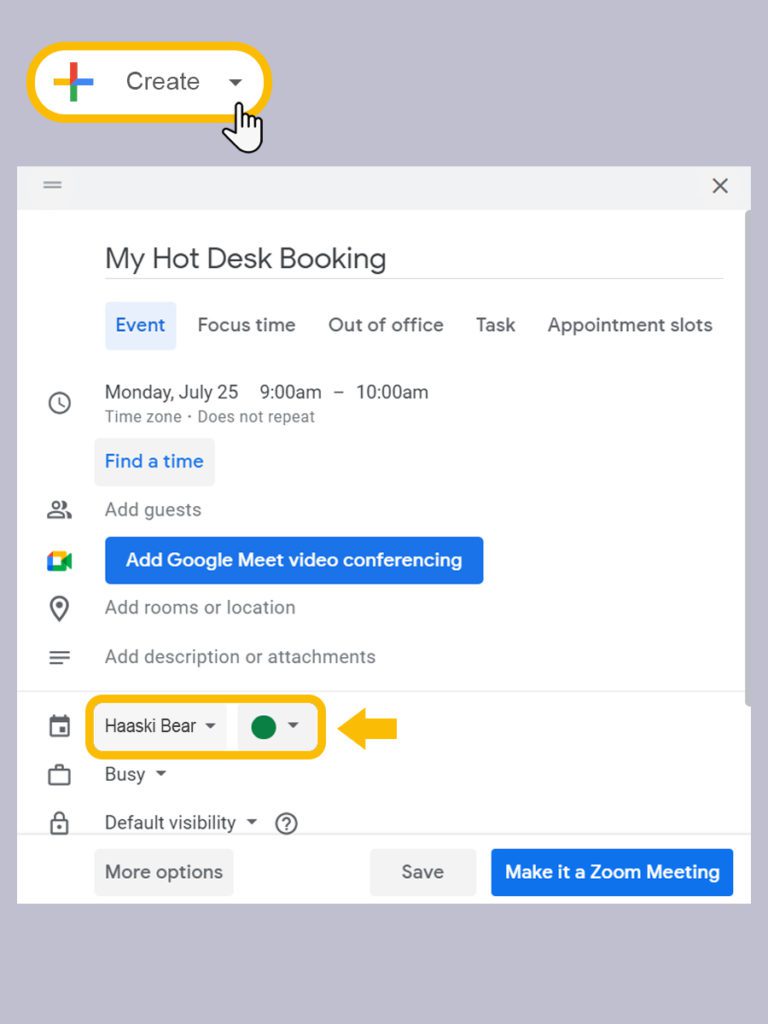
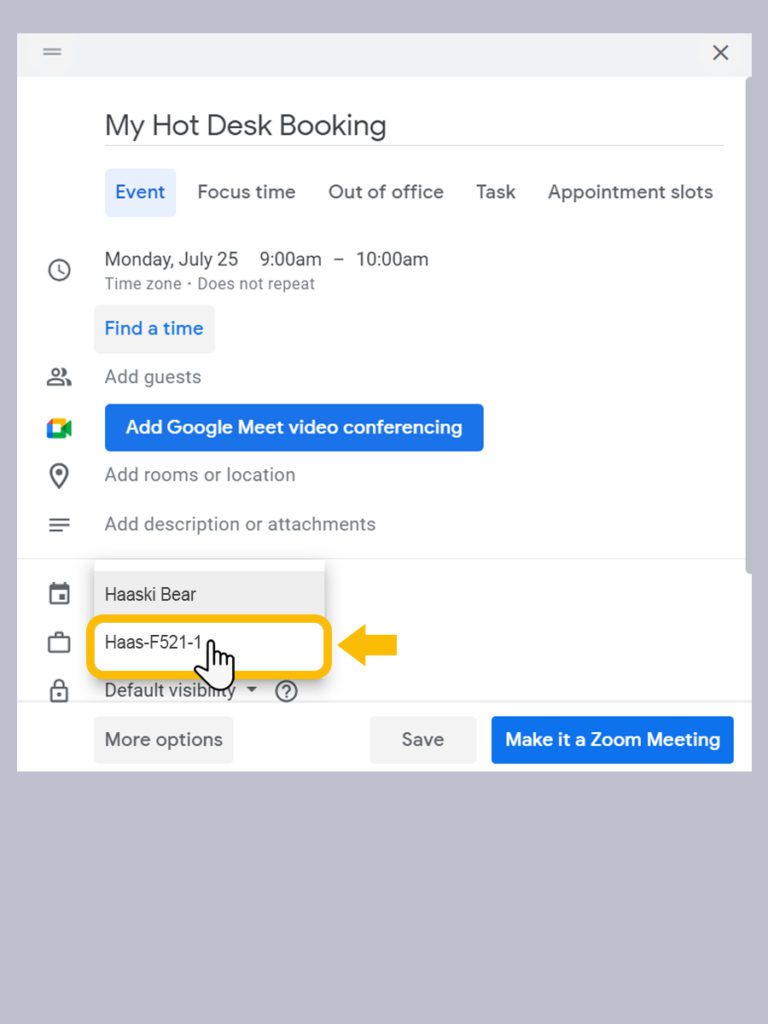
Now go and Create a calendar event. Fill up the event details (title, date and time), then go and click on the calendar setting (by default, this would be showing your account name on it, e.g. Haaski Bear).
8b. Choose the Station Calendar
Clicking on the Calendar setting will show a list of the calendars which you have access to. Choose the calendar of the space you would like to book (e.g., Haas-F521-1).
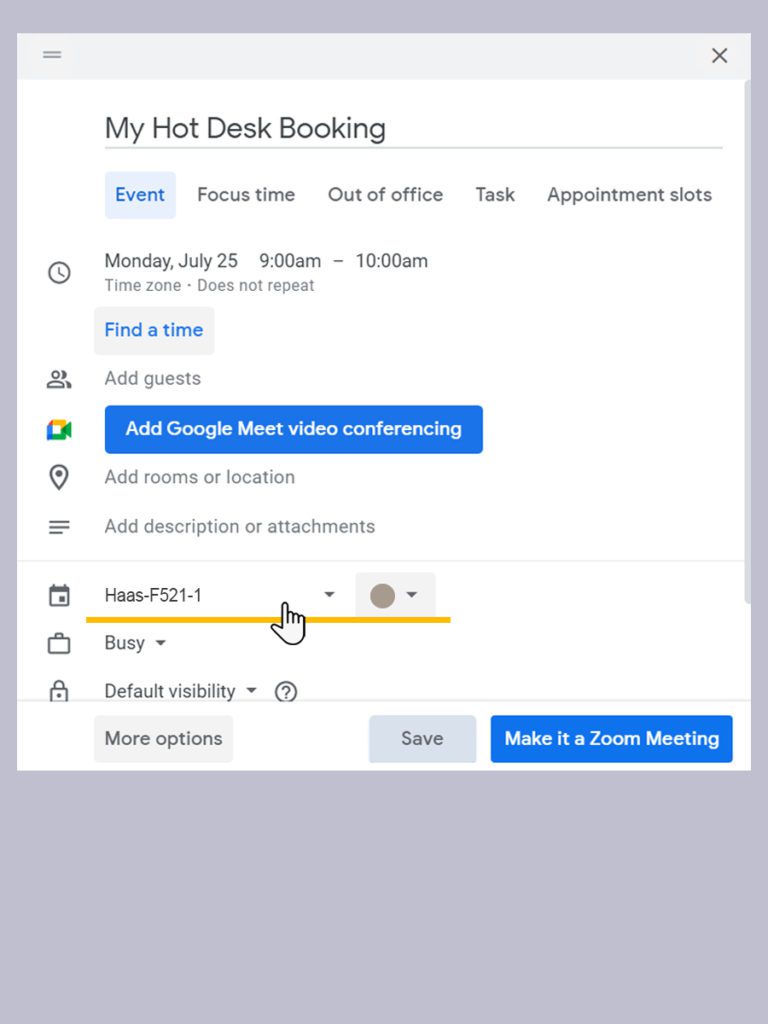
The calendar setting should now show the space’s calendar name. Click Save.
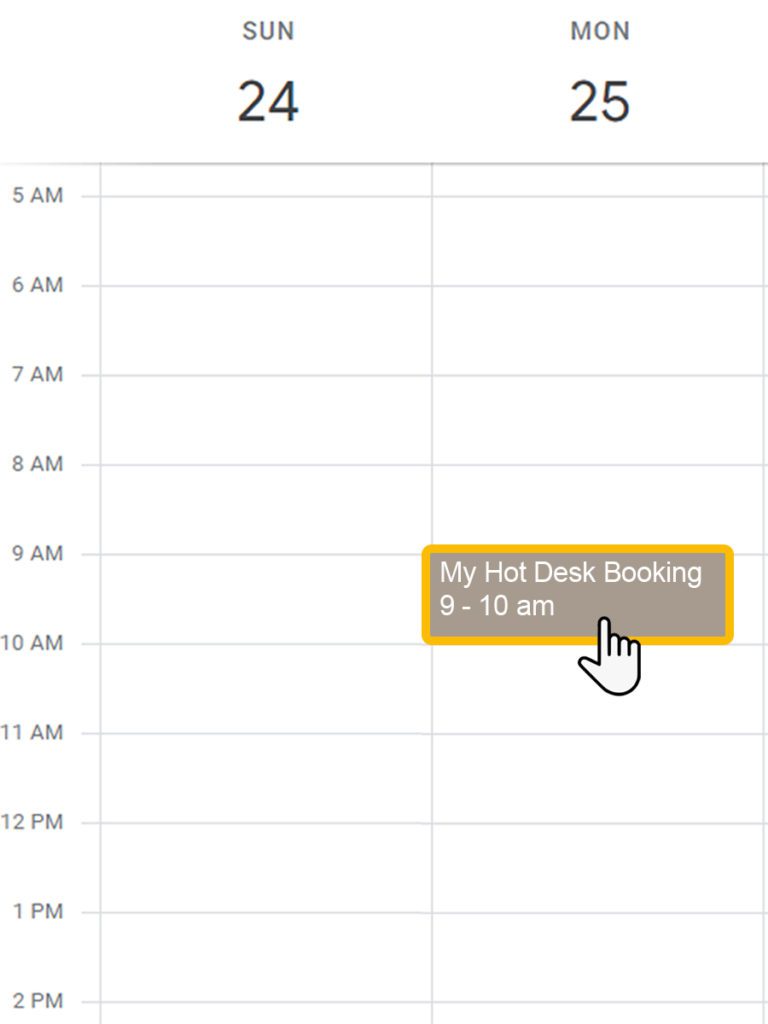
9. You're Done
Your booking should now be confirmed, and appear in your calendar.
FAQs |